Making an advertisement
Creating an audio advertisement for the Vancouver Canadiens involves multiple stages, beginning with a well-crafted script designed to captivate the audience and convey the key message. The script typically includes an engaging introduction, main content highlighting the event or promotion, and a clear call-to-action, all presented in an energetic, family-friendly tone.
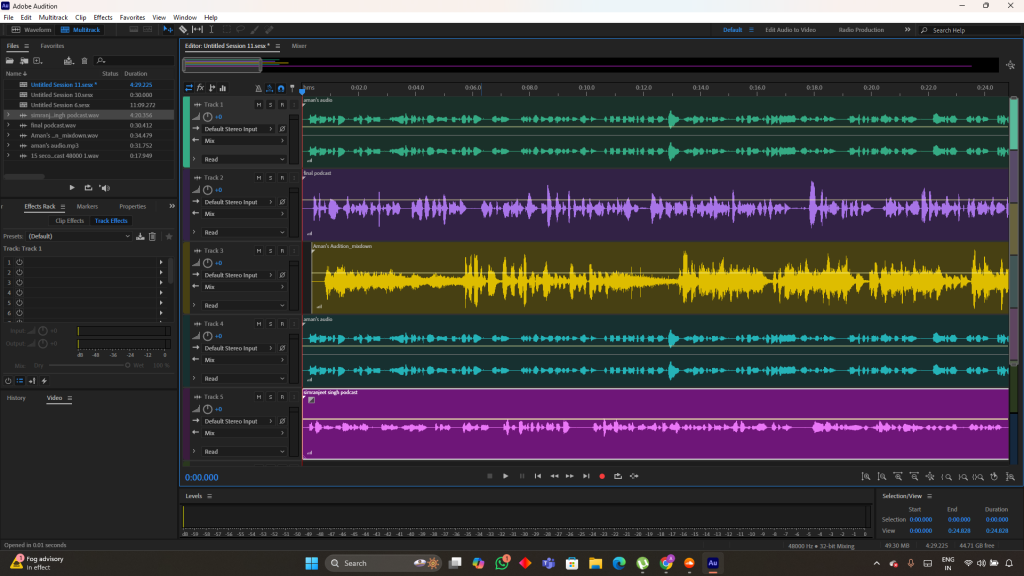
Once the script is finalized, I record it, ensuring the delivery matches the desired mood and pacing. The recording is then imported into Adobe Audition, where it is enhanced with music, sound effects, and edits for clarity and impact. For instance, upbeat background music or stadium sounds can create a lively atmosphere, while effects like cheering crowds can emphasize excitement.
After meticulous fine-tuning, the final audio is exported in the required format and uploaded to the appropriate platform—whether it’s radio, streaming services, or social media—ready to promote the Vancouver Canadiens and engage with fans.
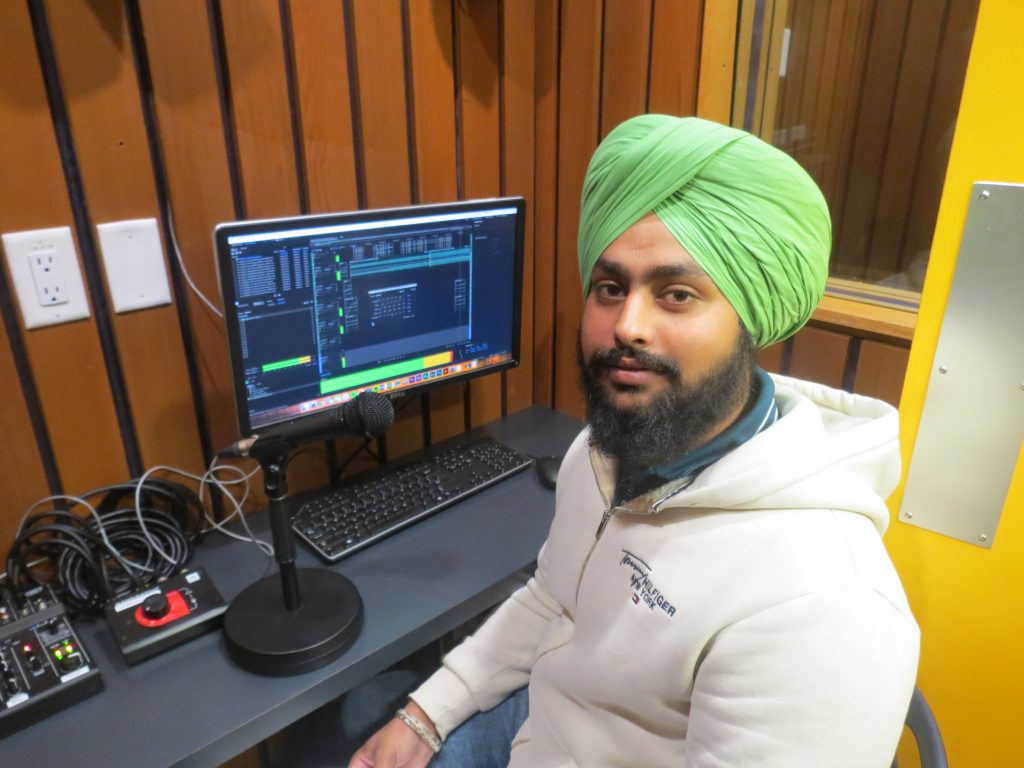
The very first step of the process involves receiving the script. We read it repeatedly to ensure we don’t stutter or get stuck on any words. After becoming familiar with the script, I head to one of the studio rooms at BCIT to set up essential equipment, such as adjusting the volume, speaker settings, and other technical details.
Once everything is set up, we begin the recording process. However, it’s not as easy as it sounds—I typically need 12-13 takes to perfect a 30-second audio file!
Here’s the corrected version of your text:
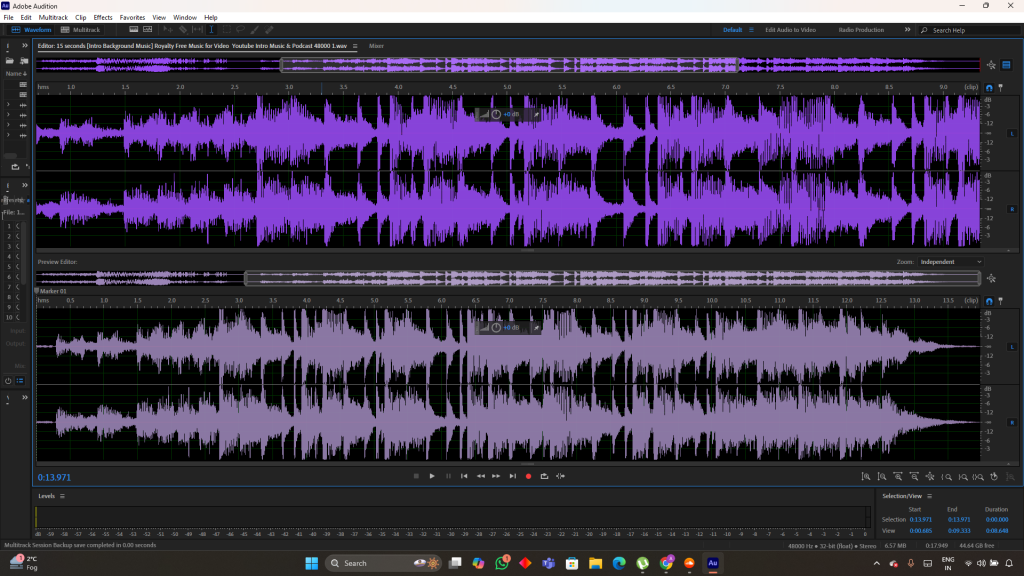
After that, I import the audio file into Adobe Audition, where I listen to it a couple of times to identify any points where my voice cracks or unusual parts appear in the audio clip.
.
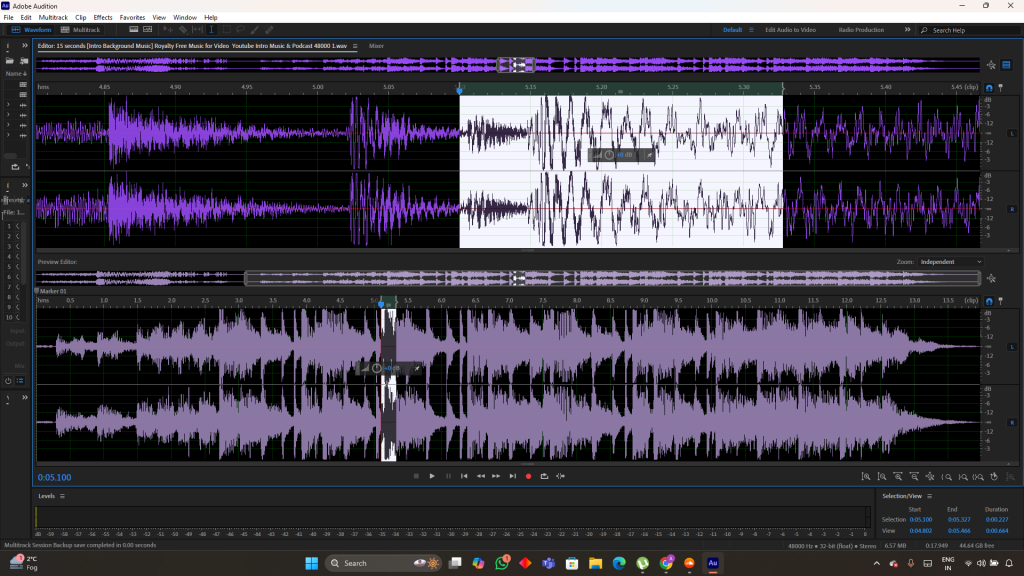
In the next step, I selected all unusual and extra parts of the audio clip, i simply selected that part and just delete it from the audio clip
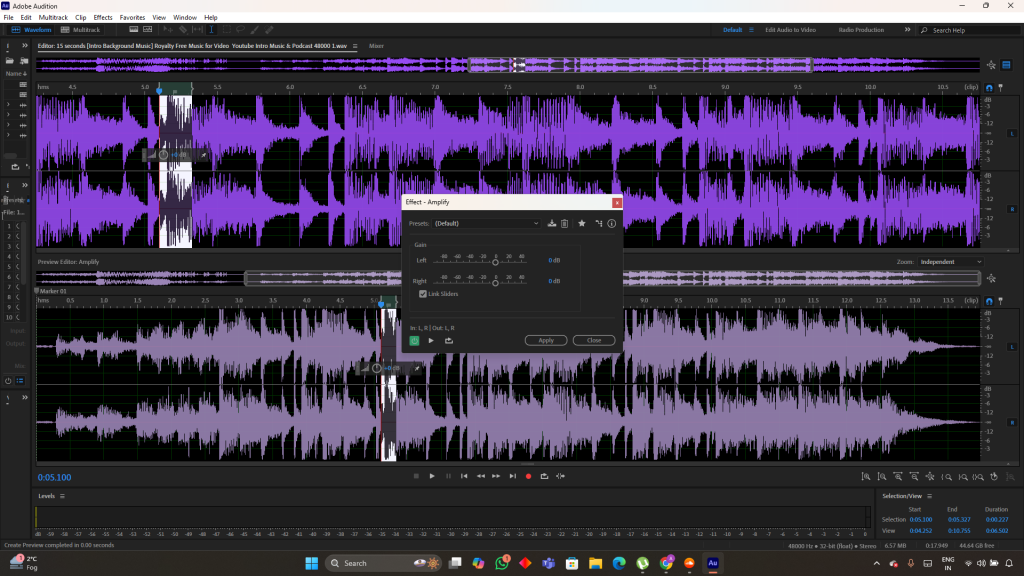
This is one of the most important steps because in that step we have to find the parts where our voice is in high pitch or low pitch. we simply adjust the volume of that part or we can use effects on it
In the next step, I identified all the unusual and extra parts of the audio clip. I simply selected those parts and deleted them from the audio clip.
Here is the final audio file with all the editing and effects, Exported from Adobe Audition and uploaded to the Soundcloud.